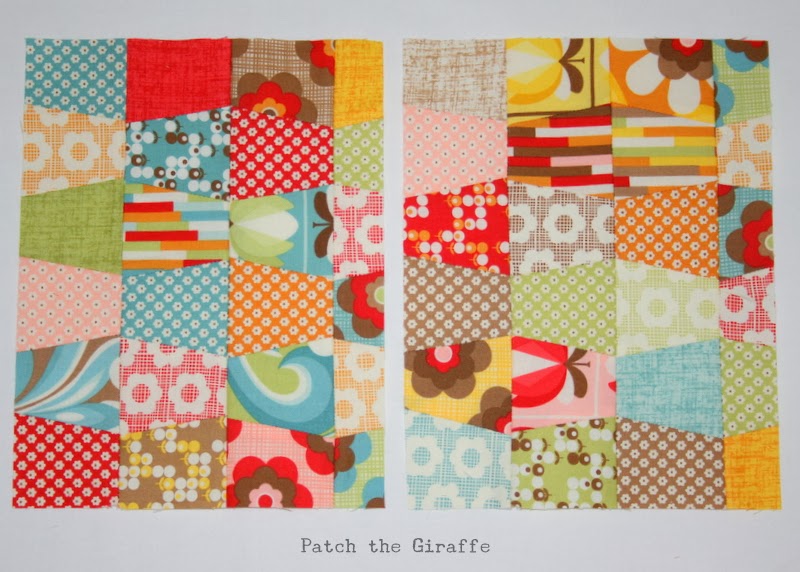
So those two blocks I made earlier this week are getting turned into an iPad cover. I recently received an iPad from my district. For the first few weeks I didn't have a cover and was terrified to take it out of the box. I literally used the thing in the box. Pathetic, I know. It took this long for me to get one iPad if anything happens to it, it won't be replaced. Now that I finally got the keyboard case, I wanted a little more protection for traveling to school and back daily. Here is my solution.


If you would like to make your own iPad cover, you will need the following.
28 - 2.5 inch tumbler sewn into a 7 inch by 9 inch block
2 - 1.75 inch by 7 inch - White
2 - 1.75 inch by 11.5 inch - White
1 - Color A (orange flowers) 9.5 inch by 11.5 inch - Back
1 - Color B (red flowers) 1.5 inch by 21 inch - Ties
1 - 9.5 inch by 17 inch - Linen Pocket
2 - 9.5 inch by 11.5 inch - Chenille Lining
2 - 11 inch by 13 inch - Batting

I am going to make two iPad covers, one for each block.

First, sew the 1.75 inch by 7 inch pieces to either end of the block on the shorter end. Press and trim.

Sew the the 11.5 inch strips to the other side of the block. Press and trim.
I spray basted the back and the front to each piece of batting.

You can pick any pattern to top stitch the front and back. I used a straight stitch, each line 0.5 inches apart for both.


Next, lets make the ties. Start by pressing the edges of the strip to the center as shown, then fold in half, press again.

Sew 1/8th of an inch in on the side that is open. You may also sew along fold, but is optional.

Once you have finished the 21 inch piece, cut in half. You now have two ties to enclose the top.

To make the back pocket. Fold the piece of linen in half and press. Top stitch along the fold 1/8 inch from the edge.
Next, pin the linen to the back using pins all along the edge.

Pin the front to the back part, right sides together. Sew along the two longer sides and one of the short sides. The other short side will be the opening, leave this side alone. When starting and ending make sure to back stitch. This will the help the cover endure more abuse.

Do the same to the chenille lining. This time you will need to leave an opening at the bottom. This is necessary to flip the cover right side out. Reinforce the top and opening by backstitching.

Find the center on the outside part. This is where you will pin one of the ties to the right side. Repeat on the other side.


Flip the chenille lining right side out and tuck inside the top, make sure the right side of the top is with the right side of the lining.

Match the edge of the outside and lining together, pin.

Next, pin around the entire top.

Sew around the raw edge. Flip right side out, using the opening in the lining. Sew together the opening, I hand stitched it closed. You are now finished. Enjoy!
Image the front.

Image of back with pocket.


If you have any clarifying questions or need help on any of the steps please leave a comment below. I will do my best to provide any tips or advice.
Sew long,
CHELS